Introduction to JPG to HUS Conversion
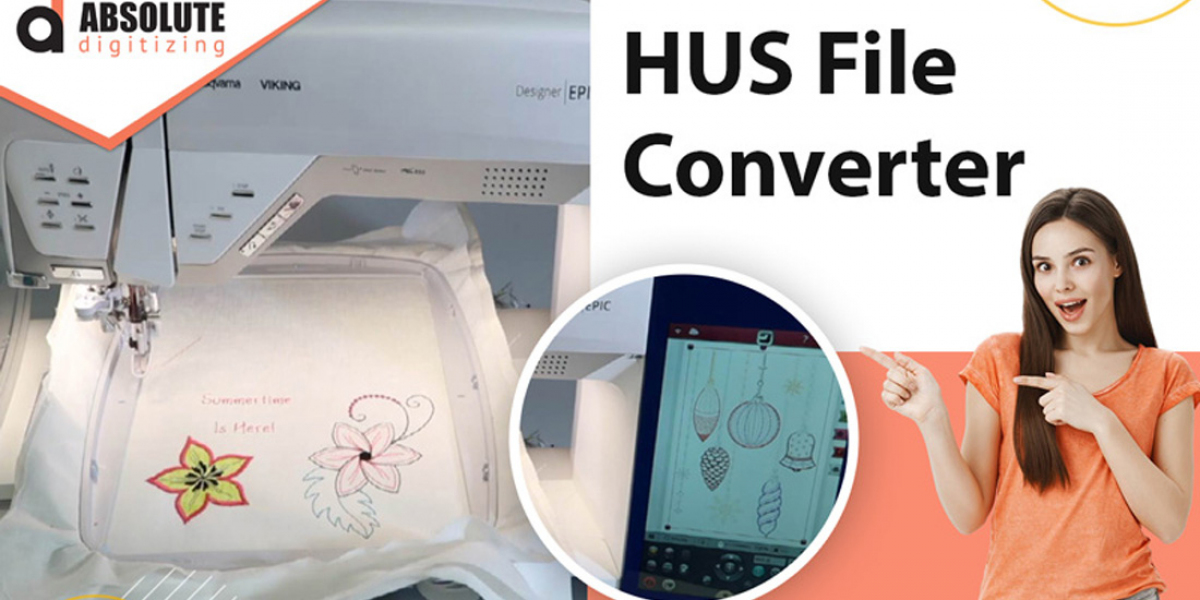
Turning your favorite JPG images into embroidered masterpieces requires converting them to the HUS format that Husqvarna Viking embroidery machines understand. This process, called digitizing, transforms pixel-based images into stitch instructions your machine can follow. Whether you're creating custom apparel, personalized gifts, or branded merchandise, learning to properly digitize JPG files will elevate your embroidery projects.
This comprehensive guide walks you through the entire process to convert JPG to HUS embroidery file, including professional tips for optimal results.
Understanding the Digitizing Process
Why You Can't Use JPG Files Directly
JPG images and HUS embroidery files serve fundamentally different purposes:
JPG Files | HUS Files |
Store pixel color data | Contain stitch coordinates |
No stitch information | Specify stitch types (satin, fill, running) |
 Fixed resolution | Include thread change commands |
Designed for screens | Optimized for fabric |
Attempting to stitch a JPG directly would be like feeding a music player a photograph of sheet music - it lacks the actual instructions needed.
Key Elements of Quality Digitizing
Proper digitizing accounts for:
✔ Stitch types (appropriate for each design element)
✔ Density (stitches per inch for different fabrics)
✔ Underlay (foundation stitches for stability)
✔ Pull compensation (adjusting for fabric stretch)
✔ Color sequencing (efficient thread changes)
Preparing Your JPG for Digitizing
Choosing the Right Image
Not all JPGs digitize equally well. The best candidates have:
✅ High contrast between elements
✅ Clean, defined edges
✅ Limited colors (6-10 ideal)
✅ Simple or removed backgrounds
✅ Adequate detail size (minimum 1/8")
Essential Image Editing
Use free tools like GIMP or Canva to:
- Remove backgrounds - Isolate key design elements
- Increase contrast - Make edges more distinct
- Simplify colors - Reduce to essential shades
- Resize appropriately - Remember embroidery limitations
- Save as high-resolution - Minimum 300 DPI at target size
Digitizing Methods Compared
1. Auto-Digitizing Software
Best for: Simple designs, beginners
Recommended Software:
- Hatch Embroidery
- Embrilliance
- Bernina ArtLink
Process:
- Import JPG
- Run auto-digitize function
- Make basic adjustments
- Export as HUS
Pros:
✓ Fast results (5-15 minutes)
✓ Affordable if you own software
✓ Good for basic designs
Cons:
✗ Often needs manual cleanup
✗ Limited fabric optimization
2. Online Conversion Services
Best for: One-time projects
Top Services:
- CoolEmbroideryDesigns.com
- AbsoluteDigitizing.com
- DigitizingBuddy.com
How It Works:
- Upload JPG
- Select HUS format
- Receive file via email
Pros:
✓ No software needed
✓ Professional quality
✓ Fast turnaround (24-48 hours)
Cons:
✗ Per-design cost
✗ Less customization
3. Professional Digitizing
Best for: Complex designs, production work
Pros:
✓ Perfect stitch optimization
✓ Fabric-specific adjustments
✓ Handles intricate details
Cons:
✗ Higher cost ($25-$100)
✗ Longer turnaround
Step-by-Step Digitizing in Hatch Embroidery
1. Import and Prepare Your JPG
- Open Hatch and select "New from Image"
- Adjust contrast and brightness if needed
- Crop unnecessary areas
- Simplify complex elements
2. Auto-Digitize Settings
- Click "Auto-Digitizing" button
- Select target size in inches
- Choose fabric type (affects density)
- Set stitch types for different elements
3. Manual Refinements
- Clean up stray stitches
- Adjust densities (typically 4-6 SPI)
- Optimize stitch direction
- Add underlay where needed
4. Export as HUS File
- Go to "File > Save As"
- Select HUS format
- Choose Viking machine type
- Include color information
- Save to USB or computer
Troubleshooting Common Issues
Problem: Puckered Fabric
Solutions:
- Reduce stitch density by 10%
- Use appropriate stabilizer
- Add more underlay
Problem: Blurry Details
Solutions:
- Start with higher resolution JPG
- Increase design size
- Simplify complex areas
Problem: Thread Breaks
Solutions:
- Check for dense stitch clusters
- Adjust tension settings
- Use quality embroidery thread
Pro Tips for Perfect HUS Files
- Test stitch on scrap fabric first
- Digitize at final size - never resize after
- Keep original JPGs for future edits
- Build thread library for color matching
- Request stitch preview from online services
When to Choose Professional Digitizing
Consider professionals for:
- Complex corporate logos
- Photorealistic portraits
- Delicate fabrics (silk, knits)
- Large production runs
- 3D puff embroidery
The Future of JPG to HUS Conversion
Emerging technologies include:
- AI-powered auto-digitizing
- Mobile conversion apps
- Cloud-based processing
- AR stitch previews
Conclusion
Converting JPG to HUS format unlocks endless creative possibilities for your Husqvarna Viking machine. Whether you choose auto-digitizing software for quick projects or professional services for premium results, proper digitizing ensures your embroidered creations look their best.
Remember these key takeaways:
✔ Prepare your JPG properly before digitizing
✔ Choose the right conversion method for your needs
✔ Always test stitch before final production
✔ Save original files for future adjustments
With these techniques, you're ready to transform any image into beautiful embroidery. Happy stitching!

Absolute Digitizing
1 posts
-
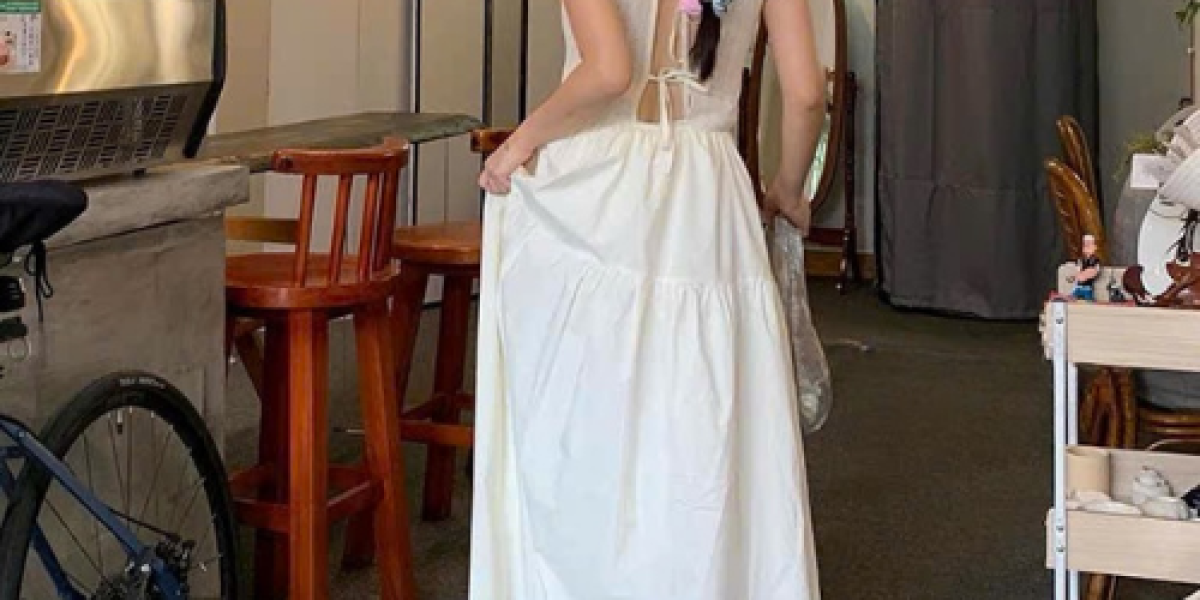 Gợi ý phối đồ với váy maxi cotton cho nàng hiện đại
Một trong những điểm thú vị của váy maxi cotton là khả năng phối đồ vô cùng linh hoạt. Nhờ sự đơn giản và mềm mại trong thiết kế, chiếc váy này có thể phù hợp với nhiều hoàn cảnh, từ những buổi đi chơi nhẹ nhàng đến
-
 Vì sao váy maxi cotton được yêu thích đến vậy?
Trong thế giới thời trang nữ, váy maxi cotton luôn giữ một vị trí đặc biệt. Không chỉ bởi sự thoải mái mà còn bởi khả năng “biến hóa” linh hoạt trong nhiều hoàn cảnh khác nhau. Từ đi dạo phố, đi biển, hẹn hò cho đến dự
-
 Váy maxi cotton – Người bạn đồng hành hoàn hảo cho mùa hè
Mỗi khi mùa hè đến, váy maxi cotton lại trở thành item được nhiều cô gái lựa chọn. Với chất liệu cotton mềm mại, thoáng khí, chiếc váy này mang đến sự dễ chịu trong những ngày oi bức, giúp bạn tự tin tận hưởng mọi hoạt đ
-
 Top 4 kiểu váy babydoll Hàn Quốc được yêu thích
Trong thế giới thời trang nữ, hiếm có item nào vừa dễ thương, vừa thoải mái lại vừa tôn dáng như váy babydoll Hàn Quốc.
-
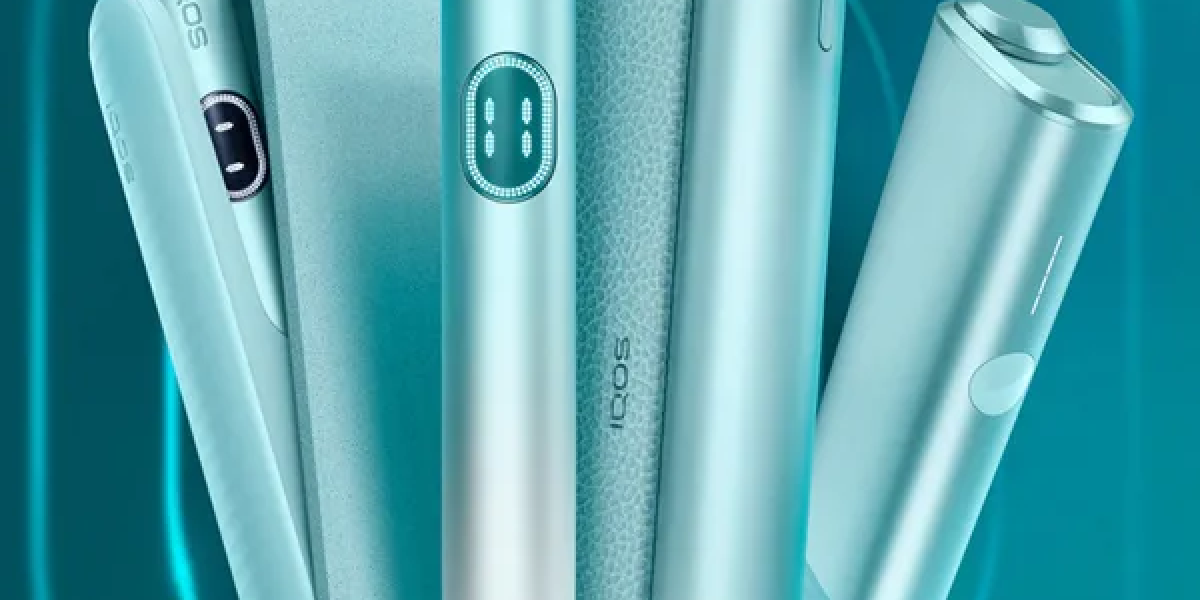 ILUMA 主機與TEREA使用口數解析
特別是搭配 ILUMA 主機 與專用的 TEREA煙彈日本時,最常見的問題之一就是「IQOS 可以抽幾口?」
-
 Complete Guide to Get the Red Panda in Grow a Garden
The Fall Market Part 2 update in Grow a Garden introduced one of the most exciting pets yet—the Red Panda.
-
 Play Jio Lottery Game Today | Instant Results & Mega Jackpots
Play Jio Lottery Game Today | Instant Results & Mega Jackpots
-
 OSRS At First Light Quest Guide
This quest has a mix of combat, travel, and puzzle-solving elements, so making sure you’re properly equipped will save a lot of time and frustration.
-
 Vidalista 40 mg – Everything You Should Know Before Using It
Whether you’re exploring this strength for the first time or upgrading from a lower dosage, this guide will walk you through all the essential details.
-
 Redefining Romance with Modern Engagement Rings
Romance today doesn’t follow rules—it rewrites them. And when it comes to expressing lifelong love, Modern Engagement Rings are leading the change.
-
 5 Star Hotels in Gulberg Lahore: Experience Luxury in the Heart of the City
5 Star Hotels in Gulberg Lahore: Experience Luxury in the Heart of the City


